Setting my own environment: Visual Studio Code, Git and Bundler
First, I create a repository in Github.
Then, I create a new folder in my laptop where I want to clone the repository.
I open this folder in my VS code and open the terminal (ctrl + `).
I run: git clone + the https from the repository.
When I make changes:
First, I stage this changes.
Second, I write commit message and commit.
Third, I push my changes.
Installing Bundler
First I make sure I have the latest version of RubyGems. I run in the VS code terminal $gem update –system
Then I instal Bundler: gem install bundler but I got an error message
I don’t have write permissions. I googled this error output and I am trying something I found in stack overflow: sudo gem install bundler. I gave the personal password for my computer and it worked!
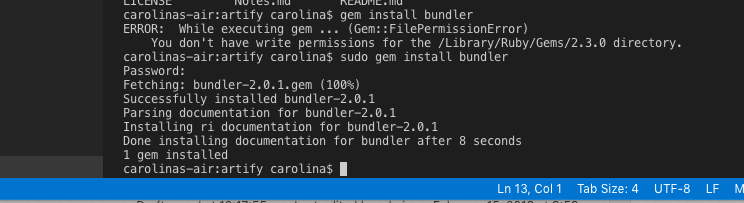
The purpose of sudo is to execute the command given to it with root privileges.
Adding Gems to gemfile
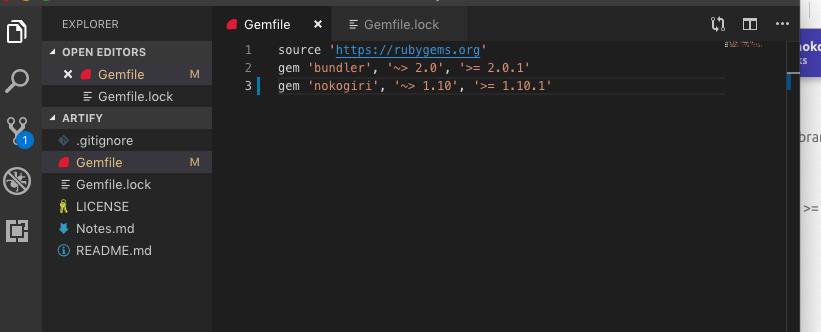
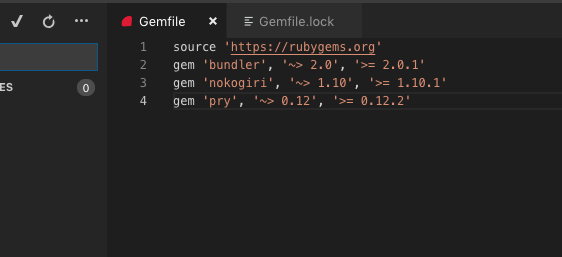
I created a new file gemfile and I am adding my gems to it, bundler.

~> is called “Twiddle-Wakka.” '~> 2.0' means any minor version above 2.0, 2.1, 2.2, 2.3 … and 2.9 included would work (including patches); but version 3.0 wouldn’t work because it indicates a new major version.
The second specification '>= 2.0.1'means any version greater than or equal to 2.0.1. Both specifications have to be true, so this gem couldn’t use version 2.0because it’s lower than 2.0.1.
My Gemfile.lock file
I run in the VS code terminal $bundle install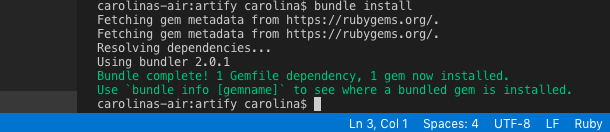 Automatically a file was created in my directory: Gemfile.lock
Reviewing my installed gems
I run in the VS code terminal $gem list
Checking where my Bundler is
I run in the VS code terminal $bundle show [bundler]

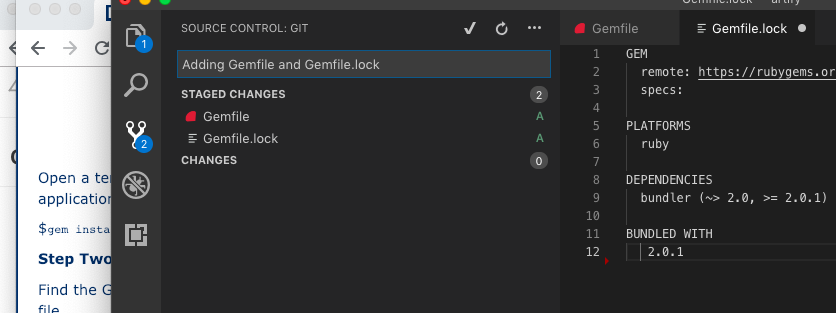
Adding Gemfile and Gemfile.lock to my repository
I run in the VS code terminal $git add Gemfile Gemfile.lock.
I could staged the changes in my VS code, they do the same thing that the git add command.
I check my Github repository….and it didn’t work.
Ok! I forgot to push my changes, so I ran: $git push origin master
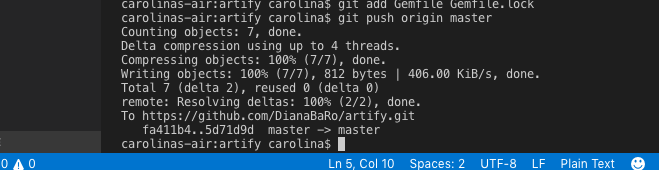
Done! I got my two new files in my repository.
Now, I want to install Nokogiri
Installing Nokogiri
I run in the VS code terminal $sudo gem install nokogiri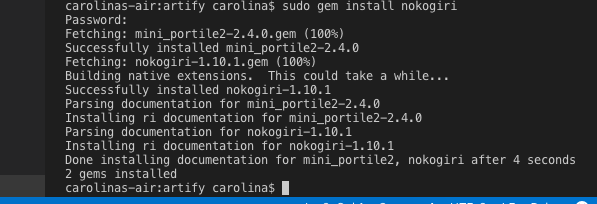
And after the installation was successfully I add my new gem to the Gemfile
I check if my changes are in Github and…no! They are not! Why? BecauseI forgot to push them.
My work flow in VSC:
Save changes – stage changes – commit changes – push changes
Installing pry
I run in the VS code terminal $sudo gem install pry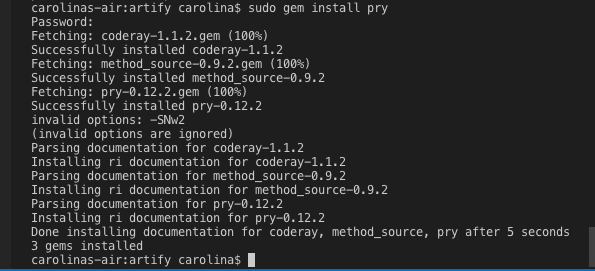
And then I add the new gem to the Gemfile
And I don’t forget about my VSC workflow! Save, stage, commit and push.
Installing ‘open-uri’
I was trying to install it and got this error:

I googled it and…
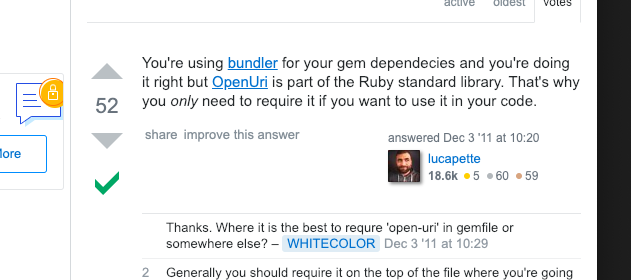
OpenUri is part of Ruby standard library, I just need to require it.
After all this installations I checked my Gemfile.lock and I couldn’t see anything about nokogiri or pry. I run $bundle install and my Gemfile.lock is updated.
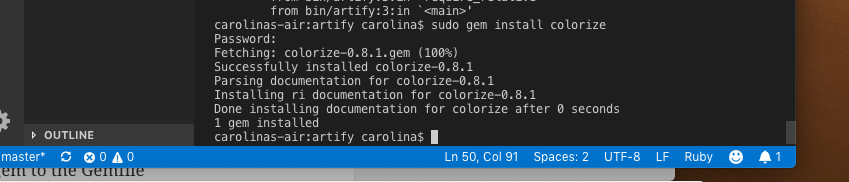
Installing ‘colorize’
I run in the VS code terminal $sudo gem install colorize
I add my new gem to the Gemfile.
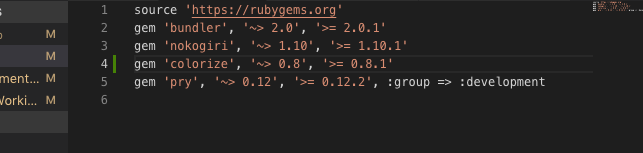
And run $bundle install to update my Gemfile.lock.

I open my Gemfile and do this with my pry gem:
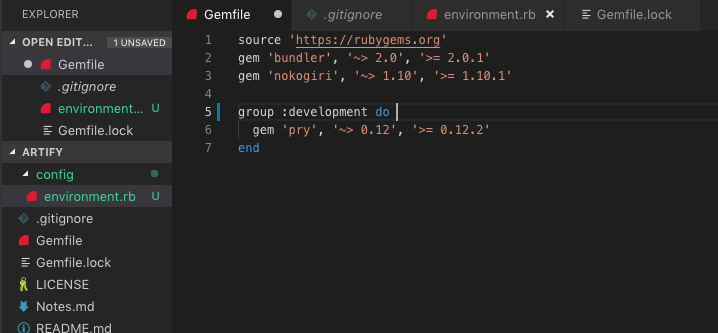
This is Group Syntax and I am specifying the environment where it is going to be used pry. I am going to change it for a shorter syntax, the hash syntax: gem ‘pry’, :group => :development
After installing all my gems I need to require them where I am going to use them.
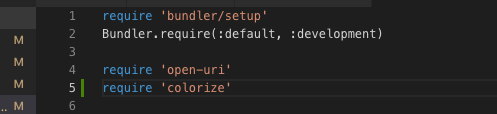
config/environment.rb
Now, I create a folder config and a file environment.rb inside. In this file I will be loading, requiring, all of my app’s dependencies like my gems.

With this code all the gems that are inside Gemfile are required.
I need to require ‘open-uri’ and ‘colorize’ too in my environment.