CLI Project Review day

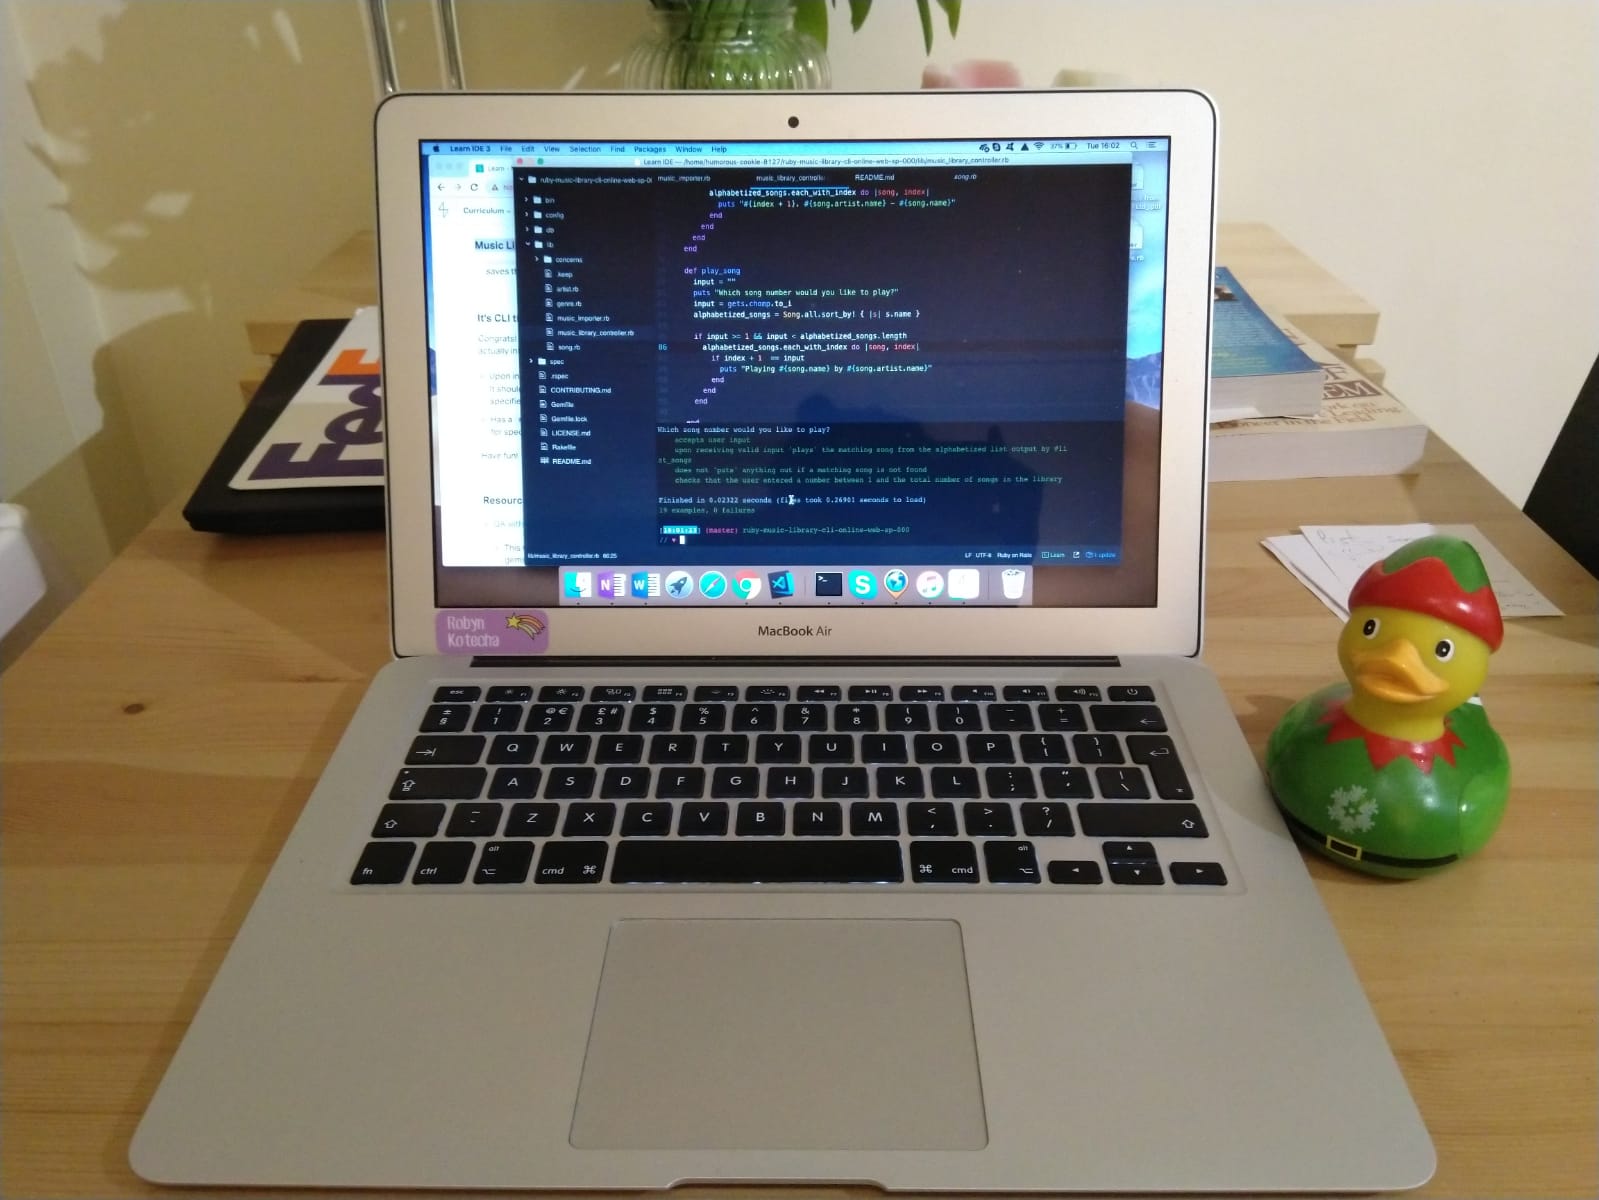
Today is my CLI project review and I reserved my day to review for the last time my code and check that everything is working in my interface.

As soon as I opened the web page that I am scraping I noticed that they have changed their content. Glup! I checked to see if my code was still working….and…not, that new exhibition was not included in my list of exhibitions.

PANIC! I am nervous because is my first project review and I really don’t know how is going to be. And  now I found that some exhibitions were not included and… Oh! Wait, I found out that that web page has links to more pages. I should scrape those pages too to get a full list of the exhibitions and I don’t have much time.

I started to make all the changes to get everything working well. I was inspecting the page but I din’t see why my CSS selector was not working. It seems that only the recommended exhibitions are listed, when I wanted all of them. I tried like 20 different selectors and I can not get that new exhibition! I struggle with CSS selectors… I find them very difficult!

After 4 hours and with a mental speech to explain why my code is not working properly and I didn’t do anything to fix it I found out that I was looking to a different web page. I was looking to the archive page and not to the “whats on” page, the one I wanted…

OK, everything is fine after all!

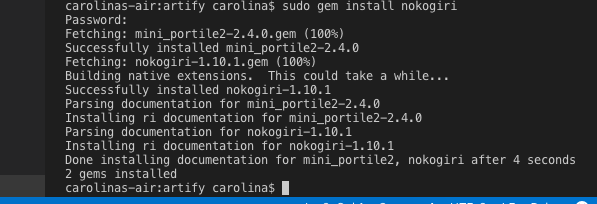
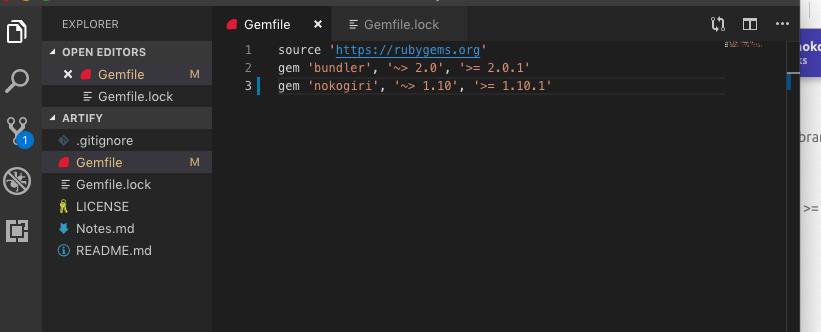
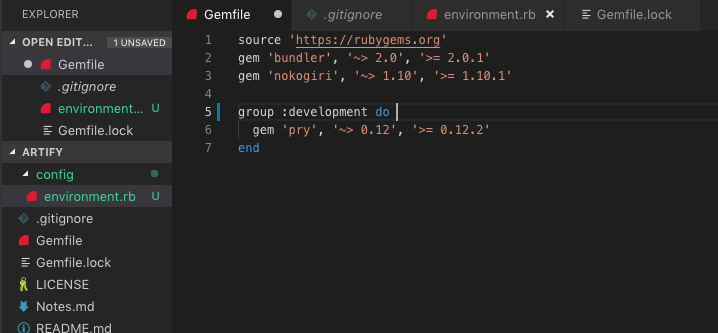
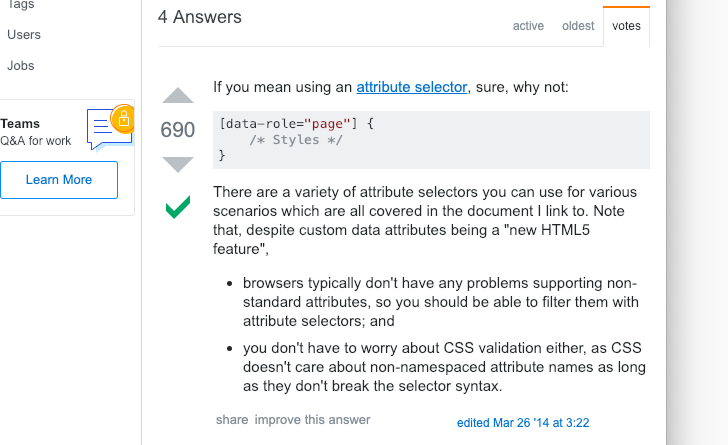
But I want to share this experience. I have learnt a few new things like  how to get attribute info with a CSS selector in a Nokogiri document.


And finally I have learnt another important lesson like, when you are nervous and you don’t have much time left, don’t change your code. Don’t break everything in the last minute like I did. Keep calm and later explain what you have found and try to fix it, but not in a rush. Go for a walk, breath some fresh air and take it easy. Chocolate cookies help too.

Programming my classes

After all the previous steps now I have pretty clear how I am going to structure my code.

I want a CLI that displays art exhibitions and gives to the user more info  about the one it chooses. I am going to scrape from a public website all the info concerning the art events (Artlyst).

I want three classes: a CLI, an exhibition one and a scraper.

This three classes will live inside a lib folder.

I finally changed the CLI class name for artify in case I want to publish my gem in RubyGems.org. So I have threes classes: artify, exhibition and scraper.

Let’s start coding!

To check my code go to my Github repository.

After programming my classes I require them inside the environment.rb file.

And that’s it!

If you want to play with this gem please check this link: readme page.

Hope it was helpful!

The executable file

I create a folder bin and create inside of this folder an executable file called in this case as the gem, ‘artify’.

When I type: $ruby bin/artify,  everything run but I don’t want this. I want that the user from the bash can type: $ ./bin/artify.

So I type:

$ cd bin/

$ ls -lah

Ad I can see that artify doesn’t have executable permissions. To change this I type:

$ chmod +x artify

$ ls -lah

This executable file is not a ruby file so I have to include at the top the following:

#!/usr/bin/env ruby

Then I require our environment file to use all the gems already installed.

In this file I want to run for my still imaginary CLI class. I want to write here something like: CLI.new.run.

So, at this point, I know I want a class CLI, where I am going to build all the methods and keep all data to run my CLI.

I finally changed this name for ‘artify’ in case I want to publish it in RubyGems.org.

How to build a CLI Ruby Gem

Steps followed:

  • Planning my gem.

I would like to build a command line interface gem where I can check art exhibitions and get more info about the ones I liked.

How it would work:

– User types “exhibitions”.

– And ‘Artify’ will show a list of exhibitions like this:

Exhibition title – where

dates

-Which exhibition do you want to learn more about?

-And it will display more info about the exhibition selected.

Walkthrough video

Artify Environment

Setting my own environment: Visual Studio Code, Git and Bundler

First, I create a repository in Github.

Then, I create a new folder in my laptop where I want to clone the repository.

I open this folder in my VS code and open the terminal (ctrl + `).

I run: git clone + the https from the repository.

When I make changes:

First, I stage this changes.

Second, I write commit message and commit.

Third, I push my changes.

Installing Bundler

First I make sure I have the latest version of RubyGems. I run in the VS code terminal $gem update –system

Then I instal Bundler: gem install bundler but I got an error message

I don’t have write permissions. I googled this error output and I am trying something  I found in stack overflow: sudo gem install bundler. I gave the personal password for my computer and it worked!

The purpose of sudo is to execute the command given to it with root privileges.

Adding Gems to gemfile

I created a new file gemfile and I am adding my gems to it, bundler.

‘~> 2.0’

~> is called “Twiddle-Wakka.” '~> 2.0' means any minor version above 2.0,  2.1, 2.2, 2.3 … and 2.9 included would work (including patches); but version 3.0 wouldn’t work because it indicates a new major version.

The second specification '>= 2.0.1'means any version greater than or equal to 2.0.1. Both specifications have to be true, so this gem couldn’t use version 2.0because it’s lower than 2.0.1.

My Gemfile.lock file

I run in the VS code terminal $bundle installAutomatically a file was created in my directory: Gemfile.lock

Reviewing my installed gems

I run in the VS code terminal $gem list

Checking where my Bundler is

I run in the VS code terminal $bundle show [bundler]

Adding Gemfile and Gemfile.lock to my repository

I run in the VS code terminal $git add Gemfile Gemfile.lock.

I could staged the changes in my VS code, they do the same thing that the git add command.

I check my Github repository….and it didn’t work.

Ok! I forgot to push my changes, so I ran: $git push origin master

Done! I got my two new files in my repository.

Now, I want to install Nokogiri

Installing Nokogiri

I run in the VS code terminal $sudo gem install nokogiri

And after the installation was successfully  I add my new gem to the Gemfile

I check if my changes are in Github and…no! They are not! Why? BecauseI forgot to push them.

My work flow in VSC:

Save changes – stage changes – commit changes – push changes

Installing pry

I run in the VS code terminal $sudo gem install pry

And then I add the new gem to the Gemfile

And I don’t forget about my VSC workflow! Save, stage, commit and push.

Installing ‘open-uri’

I was trying to install it and got this error:

I googled it and…

OpenUri is part of Ruby standard library, I just need to require it.

After all this installations I checked my Gemfile.lock and I couldn’t see anything about nokogiri or pry. I run $bundle install and my Gemfile.lock is updated.

Installing ‘colorize’

I run in the VS code terminal $sudo gem install colorize

I add my new gem to the Gemfile.

And run $bundle install to update my Gemfile.lock.


I open my Gemfile and do this with my pry gem:

This is Group Syntax and I am specifying the environment where it is going to be used pry. I am going to change it for a shorter syntax, the hash syntax: gem ‘pry’, :group => :development

After installing all my gems I need to require them where I am going to use them.

config/environment.rb

Now, I create a folder config and a file environment.rb inside. In this file I will be loading, requiring, all of my app’s dependencies like my gems.

With this code all the gems that are inside Gemfile are required.

I need to require ‘open-uri’ and ‘colorize’ too in my environment.

Rubber duck debugging

Last week I was working in the Music Library CLI Lab and I was not able to solve the last method I had to pass all the tests. I do not think it was more difficult than all the previous ones but even so I was not able to see what I was doing wrong. Maybe I was tired because I had been studying for several hours and I needed to clear my mind so I took a break. Talking to a friend about this situation, he told me why I did not try to explain my problem to a rubber duck.

Yap. I thought he was kidding but when I started working in my Lab I tried it and while I was explaining to the duck my problem I realised what was happening in 5 minutes!

Rubber duck debugging is a method of debugging code and a very effective one.

Here I leave a picture of my best study partner!Rubber Duck Debugging